How To Shuck Oysters At Home
You may think that shucking oysters at home is an exhausting and lengthy job. Well, Guess What? It is not that hard. You need to know the right way to shuck your oysters, shucking tools, and different cooking techniques.
To make it easy on you, we divided the whole process of oyster shucking into three main phases:
- Before shucking an oyster (cleaning oysters and preparing tools).
- During the shucking process (shucking process step by step).
- After shucking an oyster (oysters’ different cooking ways).
Read on details of each phase, so you will feel that you can shuck oysters like Patrick McMurray at the end of this quick guide.
First, The Before shucking Phase
Rinse Live Oyster Before Shucking
Unshucked Oysters need to be washed thoroughly. You could start by putting the fresh oyster in a bowl with ice water. After ten minutes, remove the oysters from the cold water and use a soft bristle brush to clean off any dirt. Discard the dirty water and then place the cleaned oysters back into the ice water until ready to shuck.
You can also use cold running water to rinse them. Then wrap your shellfish in a cool and damp cloth and put them in the refrigerator to keep freshness until you start shucking.
A clean workspace
Your workspace must be clean, wide enough, and prepared with the tools you will need to shuck the oysters.
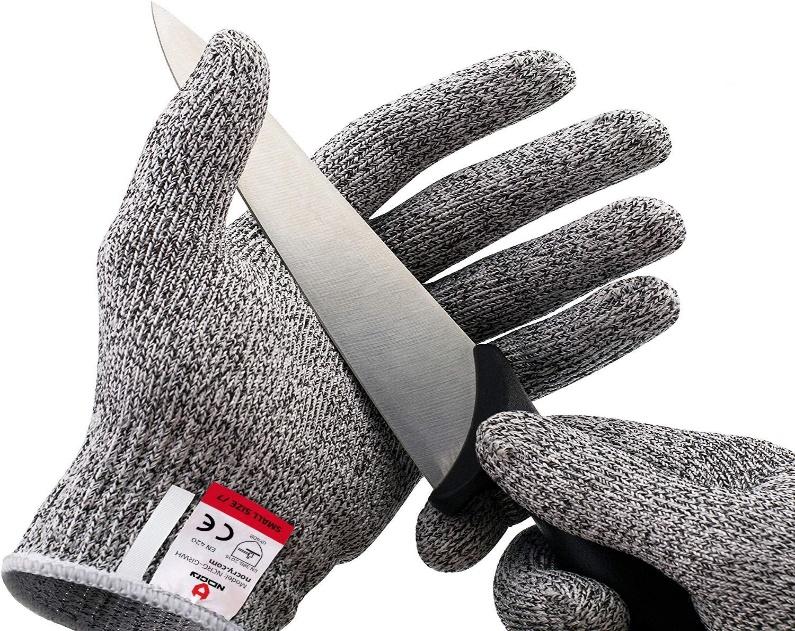
Protective tools, Cut-resistant gloves vs. A clean kitchen towel or An oven mitt
Oysters should be handled carefully; thus, Cut-resistant gloves are made specifically for this job. This comfortable, durable, and multifunctional pair of gloves will protect your hands from shards of broken shells.
These Gloves also help prevent getting dirty or soaking up oyster juice. Shucking oysters requires precision, so gloves allow the shucker to work more safely.
Although an Oven mitt or kitchen towel is not safe enough to shuck oysters, you can use one of them if you don’t have a cutting resistance glove. Either one will help you hold the oysters tightly while shucking them, protecting your hand, and preventing oysters from slipping away.
Read more , The Best 3 Oyster Grilling Pans And What To Consider
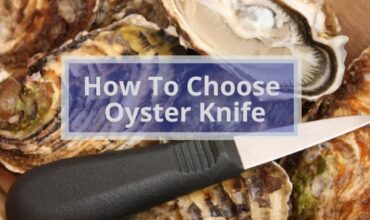
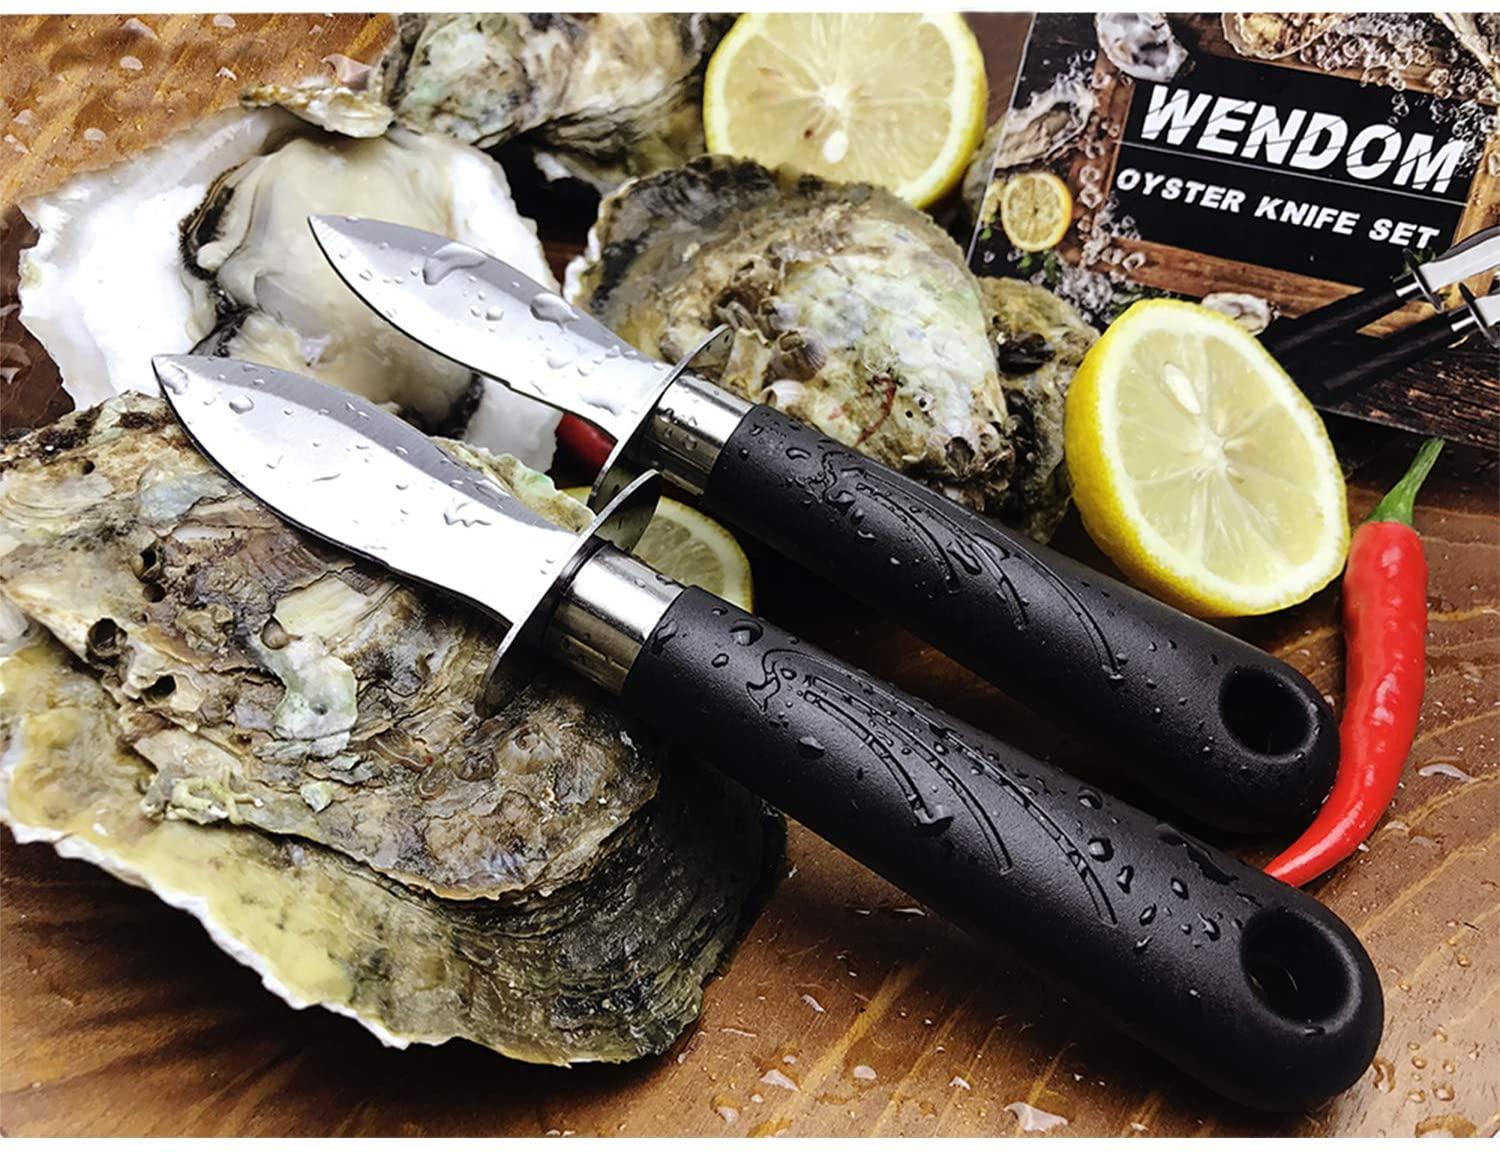
Oyster shucking Knife
The blade is short, 2:3 inches, thicker than other kitchen knives, wide, not narrow, and full-tanged. The tip is usually sharper than the edge of the blade. These knives are easy to handle with a comfortable thick grip. They are made out of stainless steel, which makes them durable. And they are very affordable.
You can use other knife types like a table or butter knife, but it’s not recommended. You could damage the oyster’s meat, and the shell could damage your blade.
Board
Use a clean board as a surface to place oysters on while shucking them.
Trash Bag
Always keep a trash bag next to you to through the unwanted half of the shell after shucking oysters. This will keep your workspace clean and organized.
A Plate with ice
Before start shucking, place a plate filled with crushed ice to sit oysters on after shucking them. This will keep them fresh and cold till serving time. If it takes you a while before serving them, you can place the oyster plate or tray in the refrigerator to keep them fresh.
Also read, How to shuck oysters without an oyster knife
The second, The During shucking Phase.
1. A Tight Hold Using Anti-cut Gloves or A folded Towel
Place an oyster on the board with the flat side facing the top and hold it tightly with your left hand. Always try to keep your safety in mind while doing that, and try to wear anti-cut gloves to protect your hand from injuries.
Don’t bother yourself if anti-cut gloves are not available; you can use a clean kitchen towel folded into three instead. Put the oyster between the folds and hold it. Part of the towel must cover or be in front of your hand to protect you from injuries and prevent the slipping of oysters.
2. Insert your knife through the shell’s connective muscle, Slip, Twist, and make Up and down movements – Hinge point
Insert the sharp tip of the blade smoothly into the hinge of the shell. You will need a few attempts until you find that hinge’s sweet spot where you can slip the knife smoothly.
You don’t want to damage the oysters by pushing the knife hard and fast into the shell. Start to use a little pressure with a knife twist and up and down movements to separate the two covers and cut the adductor muscle that connects the shell’s two sides.
Don’t Forget; keep your blade stuck to the edge of the upper shell to avoid spoiling the oysters by cutting them with your knife.
3. Wipe up your knife
After you open the shell, you may find some dirt or mud at the hinge place. To not expand the dirt over the oysters, use a clean towel to clean your knife as you need to keep your oysters clean and out of germs.
4. Get rid of the top shell and check your oyster
You can throw away the top half of the oyster shell; we don’t need it anymore. Let’s look at the second half, where your shucked oyster is located. A good oyster looks clear, fresh, chunky, and smells good with a good amount of liquid. Throw the oyster away if one of the previously mentioned features is missing.
5. Free the oyster from the shell
Finally, after cutting through the muscle, insert the tip of your knife into the oyster meat and cut away any connective tissue to separate it from the bottom shell.
While doing this, try to conserve the amount of liquid around the oysters (Oyster Liquor). If you found unwanted parts on your oyster, remove them with your knife and keep your fresh oyster ready to serve.
Third, The After shucking Phase.
Catering and enjoying time
- At this point, you finally managed to shuck all your oysters and kept them fresh and cold for serving time. There are different ways to serve these fabulous oysters.
- Raw oysters taste good when served with a squeeze of lemon over the top and a garnish with a sprig of parsley. Then serve it with a glass of your favorite drink and enjoy.
- These fantastic creatures would also be delicious if you add a tiny bit of cocktail sauce (ketchup, horseradish, hot sauce (e.g., Tabasco, Louisiana, or Crystal), Worcestershire sauce, and lemon juice.
- You can also use mignonette sauce. This sharp, hot sauce mainly consists of vinegar, black pepper, and shallots.
- Grilled oysters, after shucking oysters, put half shell-side down on the grill, and add some butter and your favorite seasoning. It will take about five min. to get cooked.
- Fried oysters, you need to fry them deeply. But first, make a coat of buttermilk eggs and flour. Put them in this mixture and then fry them.
- Broiled Oysters, here we cook them in the oven. We use butter, breadcrumbs, and seasoning, then put them in the oven for 4:5 min. And it will be ready.
- If Roasted, you will cook the whole unopened shell. Bake it in the oven until it is opened up; it will take about 10 min. Then use your preferred seasoning before serving the delicious oyster.

also read Best Oyster Shucker Machine
FAQ about oysters
Is it Hard to Shuck Oysters?
Shucking oysters is not that hard; you need to get used to this process. If you are a beginner, you can count a minute per oyster to shuck it using the proper tools.
How to Shuck Oysters without an Oyster Knife?
No oyster knife? Use a flathead screwdriver! Wash your tools first before you use them. You might want to use a paring knife to take out the meat from the shell.
What is the difference between East and West Oysters?
- East coast oysters are better than west coast oysters. The most famous ones are the blue-green ones from Wellfleet, Massachusetts. They are very salty and briny. The best ones are from Pemaquid Point, Maine. Also great are the red ones from Long Island. Less common are the European Belongs.
- West coast oysters are soft and easy to eat. Their flavor runs from mild to strong, depending on the type. They taste like melons or cucumbers. They are usually sold by weight, but some restaurants sell them by half-shell.
What do I need to know before shucking oysters?
Shopping
First, these delicious kinds of seafood must be fresh to taste good, and they must be kept alive while being purchased. Don’t buy them if they are closed or smell bad; they are dead and should not be eaten.
The right way to store oysters
Second, the area where you place fresh oysters should be cold, around 40 to 45 F., and covered. Don’t place them in a freezing temperature to not become too cold.
For example, use a plastic container, put the oysters with the cup-side of the shell facing downwards, place ice around it, and cover it with a heavy and moist towel. This will keep ice away from direct sunlight and keep the cold air around the box. Don’t use plastic wrap because it will kill the oyster.
Important Note
It would be best to use a commercial Blast Freezer to freeze oysters. A fast freeze will prevent oysters’ deterioration by stopping the chemical reaction faster than the ordinary home freezer.
What is the meaning of Oyster Reefs?
Oysters are a type of mollusk usually found in saltwater. They are bivalves (two-part shells) that grow attached to rocks or other hard surfaces, creating oyster reefs.
What are the co-benefits of oysters?
- Oysters provide many benefits beyond the hazard mitigation roles;
- They help clean the ocean by eating algae, bacteria, dead things, and garbage.
- They are called ecosystem engineers because they build big reefs, considered a shelter for other creatures.
- Oysters act as a natural barrier to protect shorelines from storms.
- Their growth creates a protective layer of sediment, which reduces the impact of erosion.
- They also absorb waves’ energy, making them safer for people living near the ocean.
- Oyster reefs protect coastlines.
- They help prevent flooding and erosion.
- They also protect wildlife.
- They filter out a lot of harmful chemicals from your body.
- They also protect you from diseases and help you stay healthy.